In Part 1, I made a paper template for the repair patch and that repair patch needed a strengthening bead included in the fabrication. Naturally I do not have a beading machine so I will have to make that beading by hand. YouTube came to the rescue as usual and I learned how to make a tool for creating that bead (indentation), which was basically 2 pieces of plywood with the beading shape cutout. The metal panel is then sandwiched between the pieces of wood, clamped down hard and then a ball pain hammer is used to beat the shape ‘through’ the cutouts of the wood. The metal plate cannot go anywhere so where the metal is not supported, it will bend with the force of the hammer – which in this case means the metal will deform into the shape I want. Naturally this is easier said than done and it took a lot of hammering to create a smooth shape.
This is the wood former:

You basically hammer the metal you can see sandwiched between the wood. This takes quite a lot of time to obtain a smooth finish, so I figured I would make a perfectly shaped tool for my air hammer which hits 1000 times a minute. I had some 25mm stainless steel bar and so decided to make an air hammer bit from that. I think this was a mistake because I had never machined stainless steel before and it took me quite a while to work out how to machine it on the lather – the problem being that the metal work hardens very quickly and then CANT be machined – so it took a few attempts before I worked out how but in the end (after many hours) I created the hammer bit below which is the perfect size and profile of the beading in the panel.

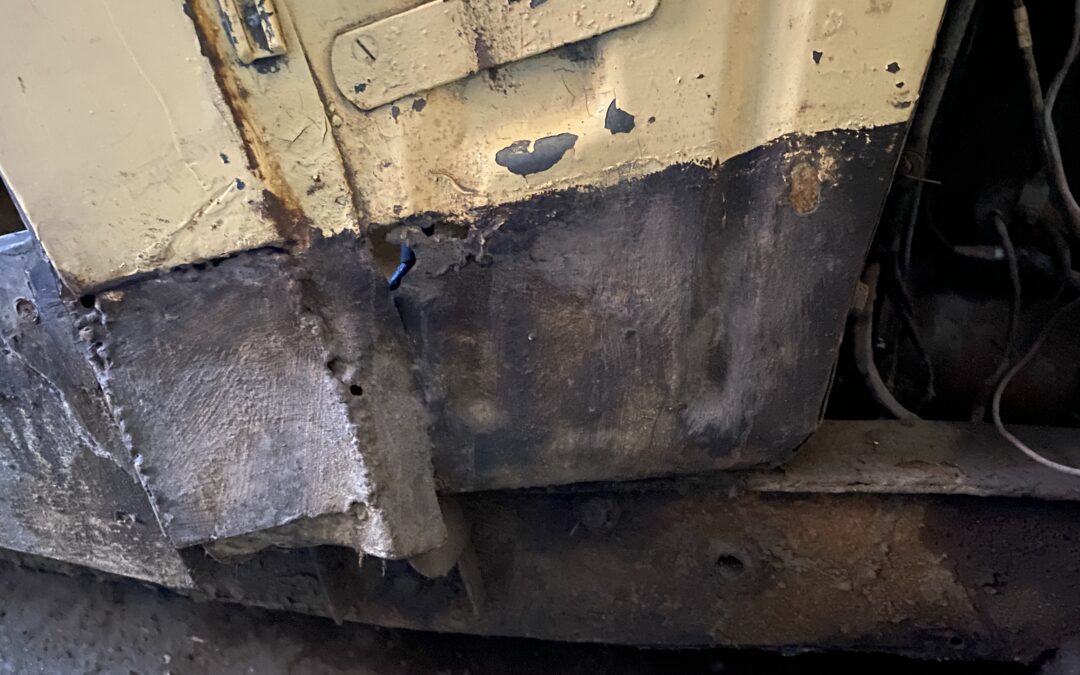
Hammering 1000 times a minute is not surprisingly much faster than hammering by hand and I soon had a shaped patch panel that I could trial fit. Below are a few pictures of the newly shaped patch panel, the trial fitting into the car , the initial tack welds and finally the almost finished panel which now just needs a little panel beating to remove the low spots revealed by sanding. To be fair this panel will be below the front wing and out of site but that doesnt mean that I shouldn’t do my best to restore it.


I am quite happy with the (almost) end result – when it comes to painting to the car, I will put a thin layer of lead over the repair which will then be flatted back to achieve a nice finish, which will then be covered in a protective coating of under seal but as I say, whether you can see repaired area or not is not really the point