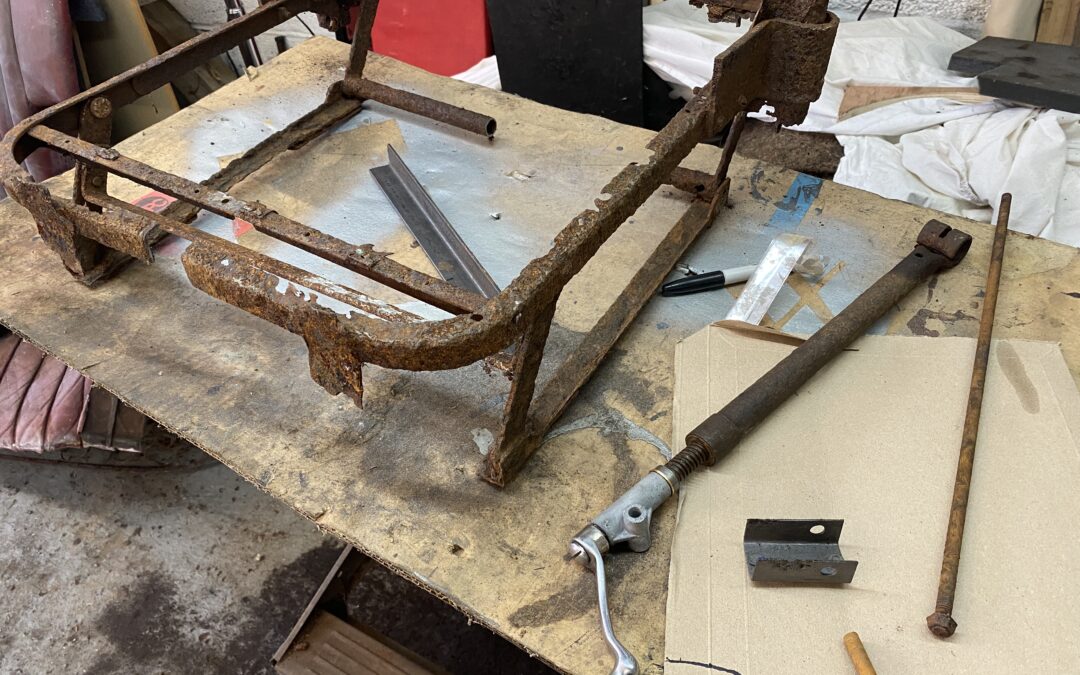
The construction continues. Using the technique for bending angle iron that I identified before, it was time to get-on-with-it. So I fabricated the top of the seat frame out of one piece of 3mm thick, 25mm angle iron. It looks like the factory used 20x25mm angle but I cant find that in the shops and no-one other than the trimmer, will ever see it anyway. The top of the frame sits on a carriage which has a lovely chrome handle on teh front of the seat. That handle when rotated moves the seat up and forward or down and backwards depending on the direction of movement. Having freed and partially rebuilt the handle mechanism, I was quite keen to maintain this feature and looking at the frame it was pretty easy to understand how it worked and it looked fairly easy to fabricate too. It was just more angle iron and 5mmx25mm flatbar with a bunch of holes drilled in the right place and some welding.
At the bottom rear of the frame, there is a tube with an 8mm bar running through it that the winder mechanism uses to push the top part of the frame forwards, so it needs to be reasonable strong and the ends of the tube are welded to two pieces of flat bar. It is all pretty basic, I just need to be careful when measuring each component to ensure that they are the same length and the hole positions are equal else the frame will twist. The seat back frame will be bolted to the top of the seat frame and I can see that the manufacturer added a couple of. substantial brackets to support the seat back. Luckily after several hours of soaking in de-rust liquid – I managed to save those brackets so they can be used again.
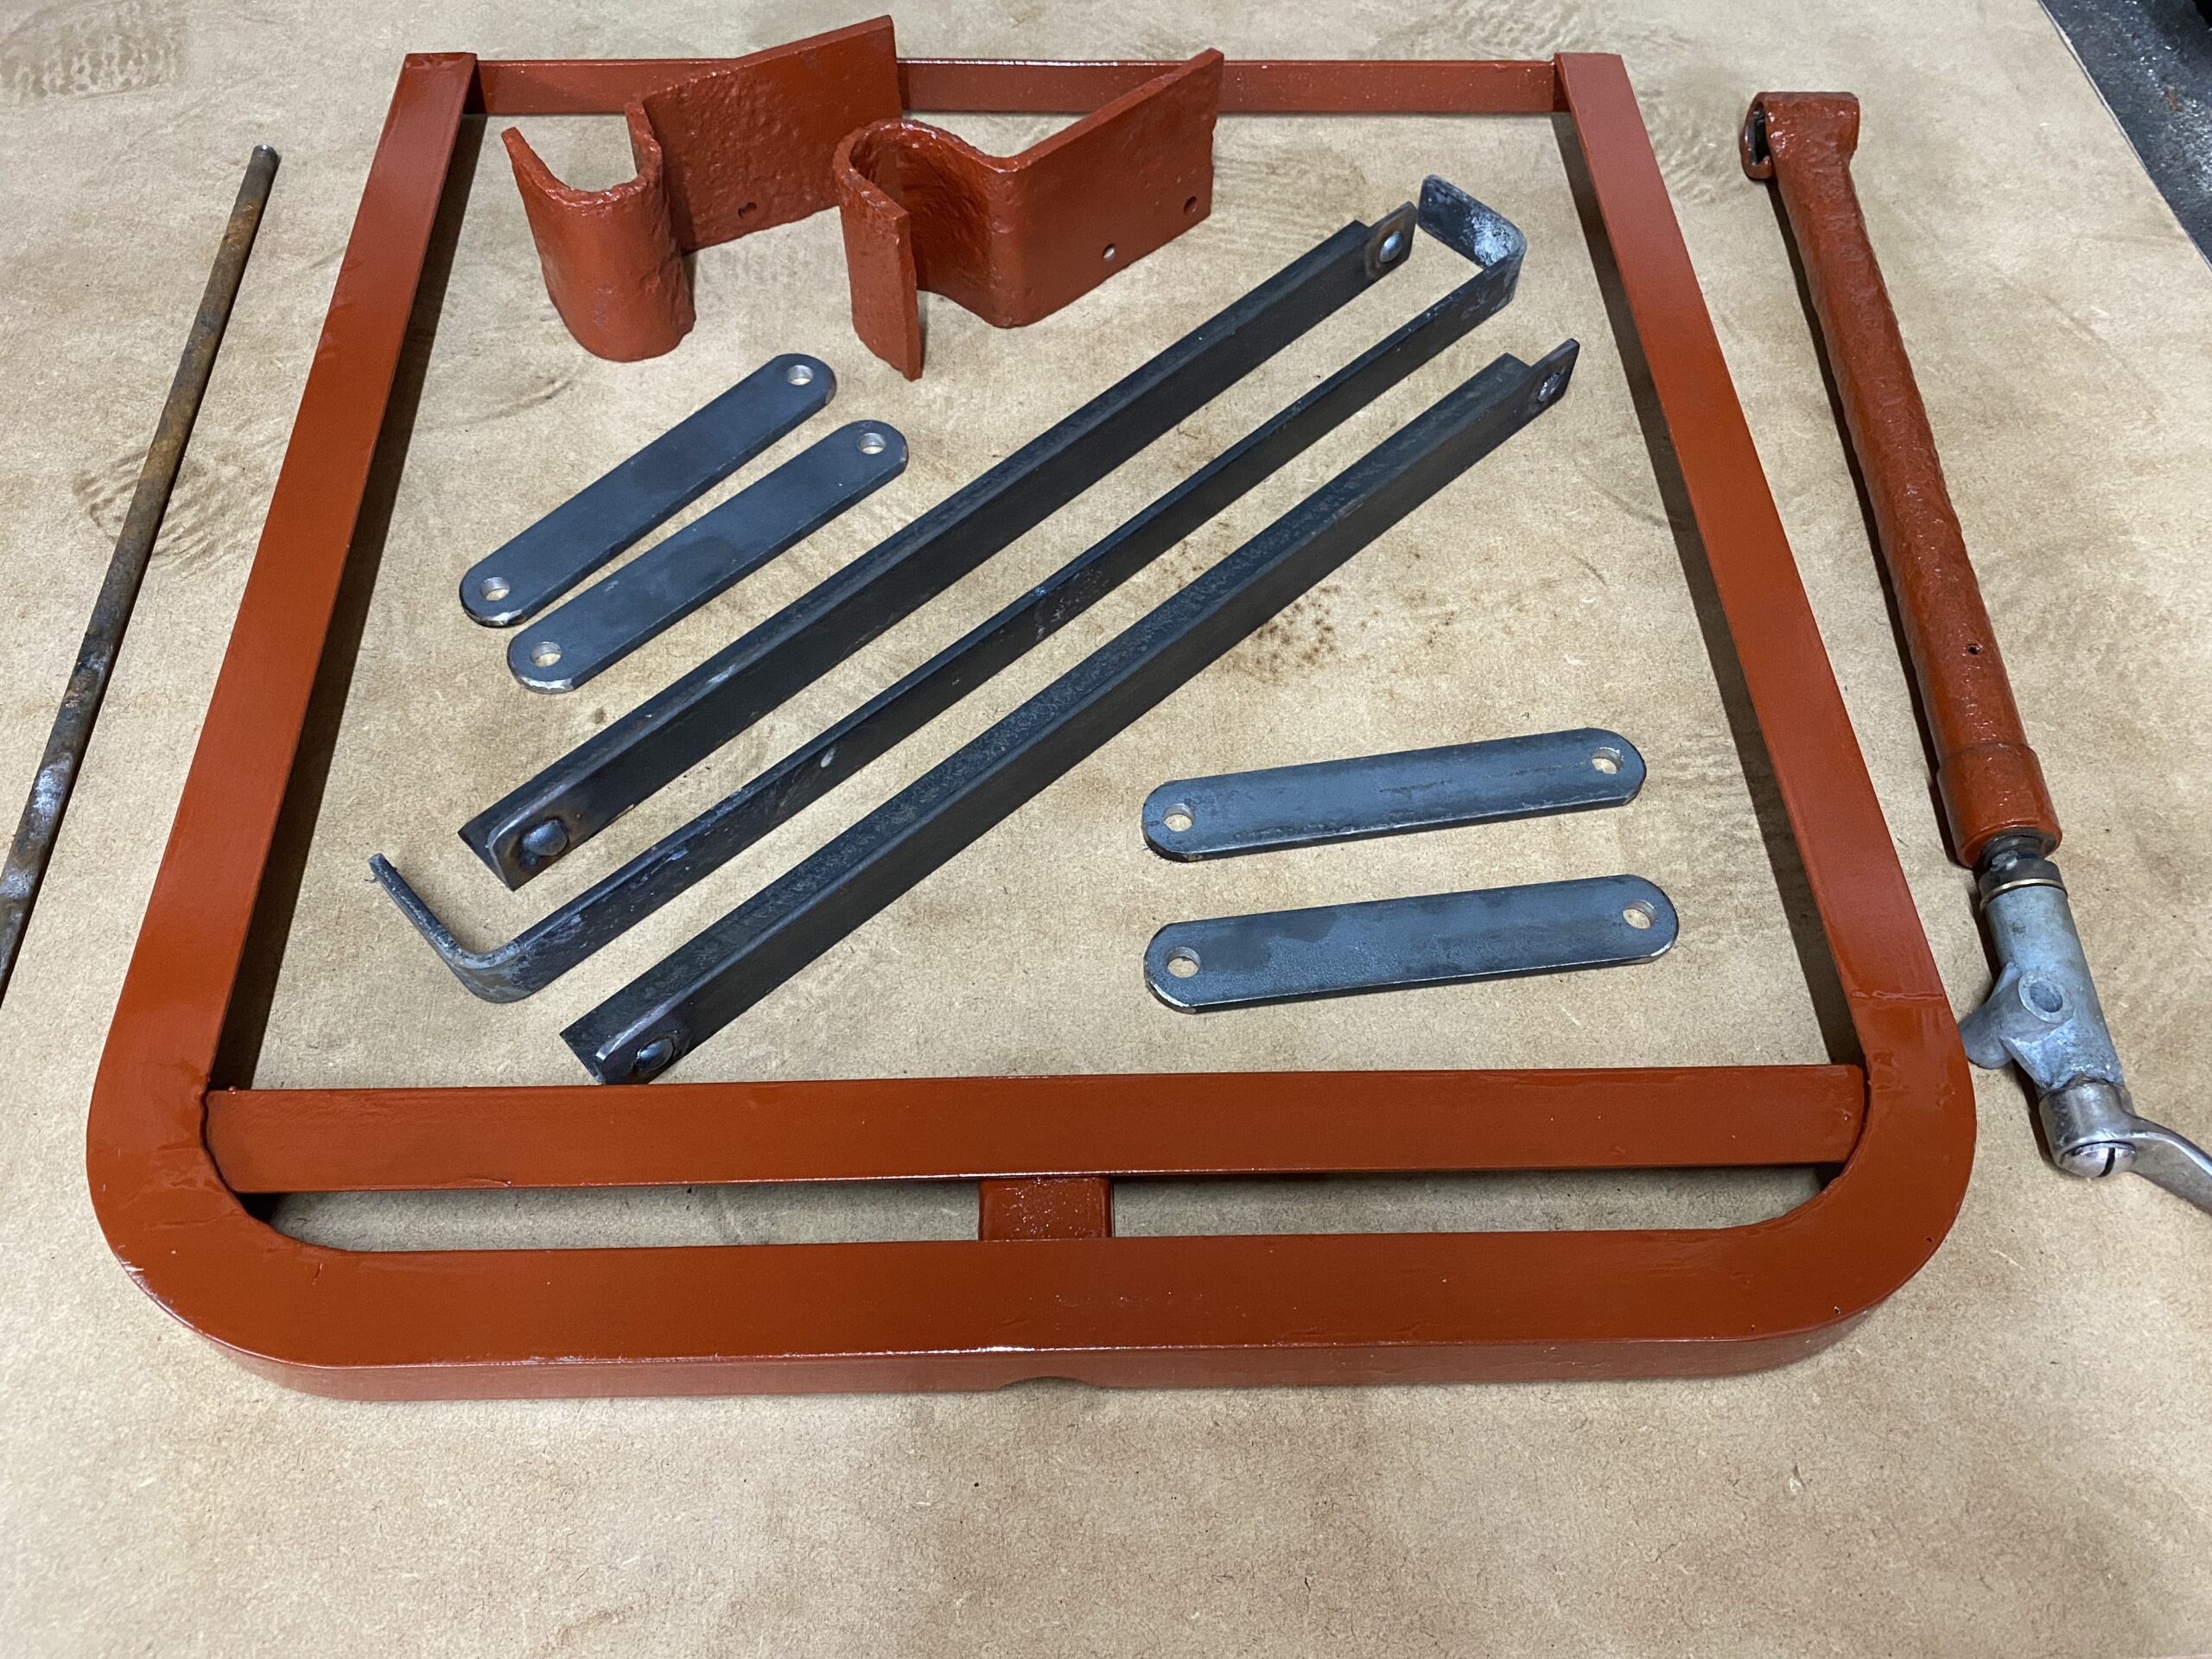
Below is the seat top frame and the fabricated components: you can see the winder mechanism on the right.
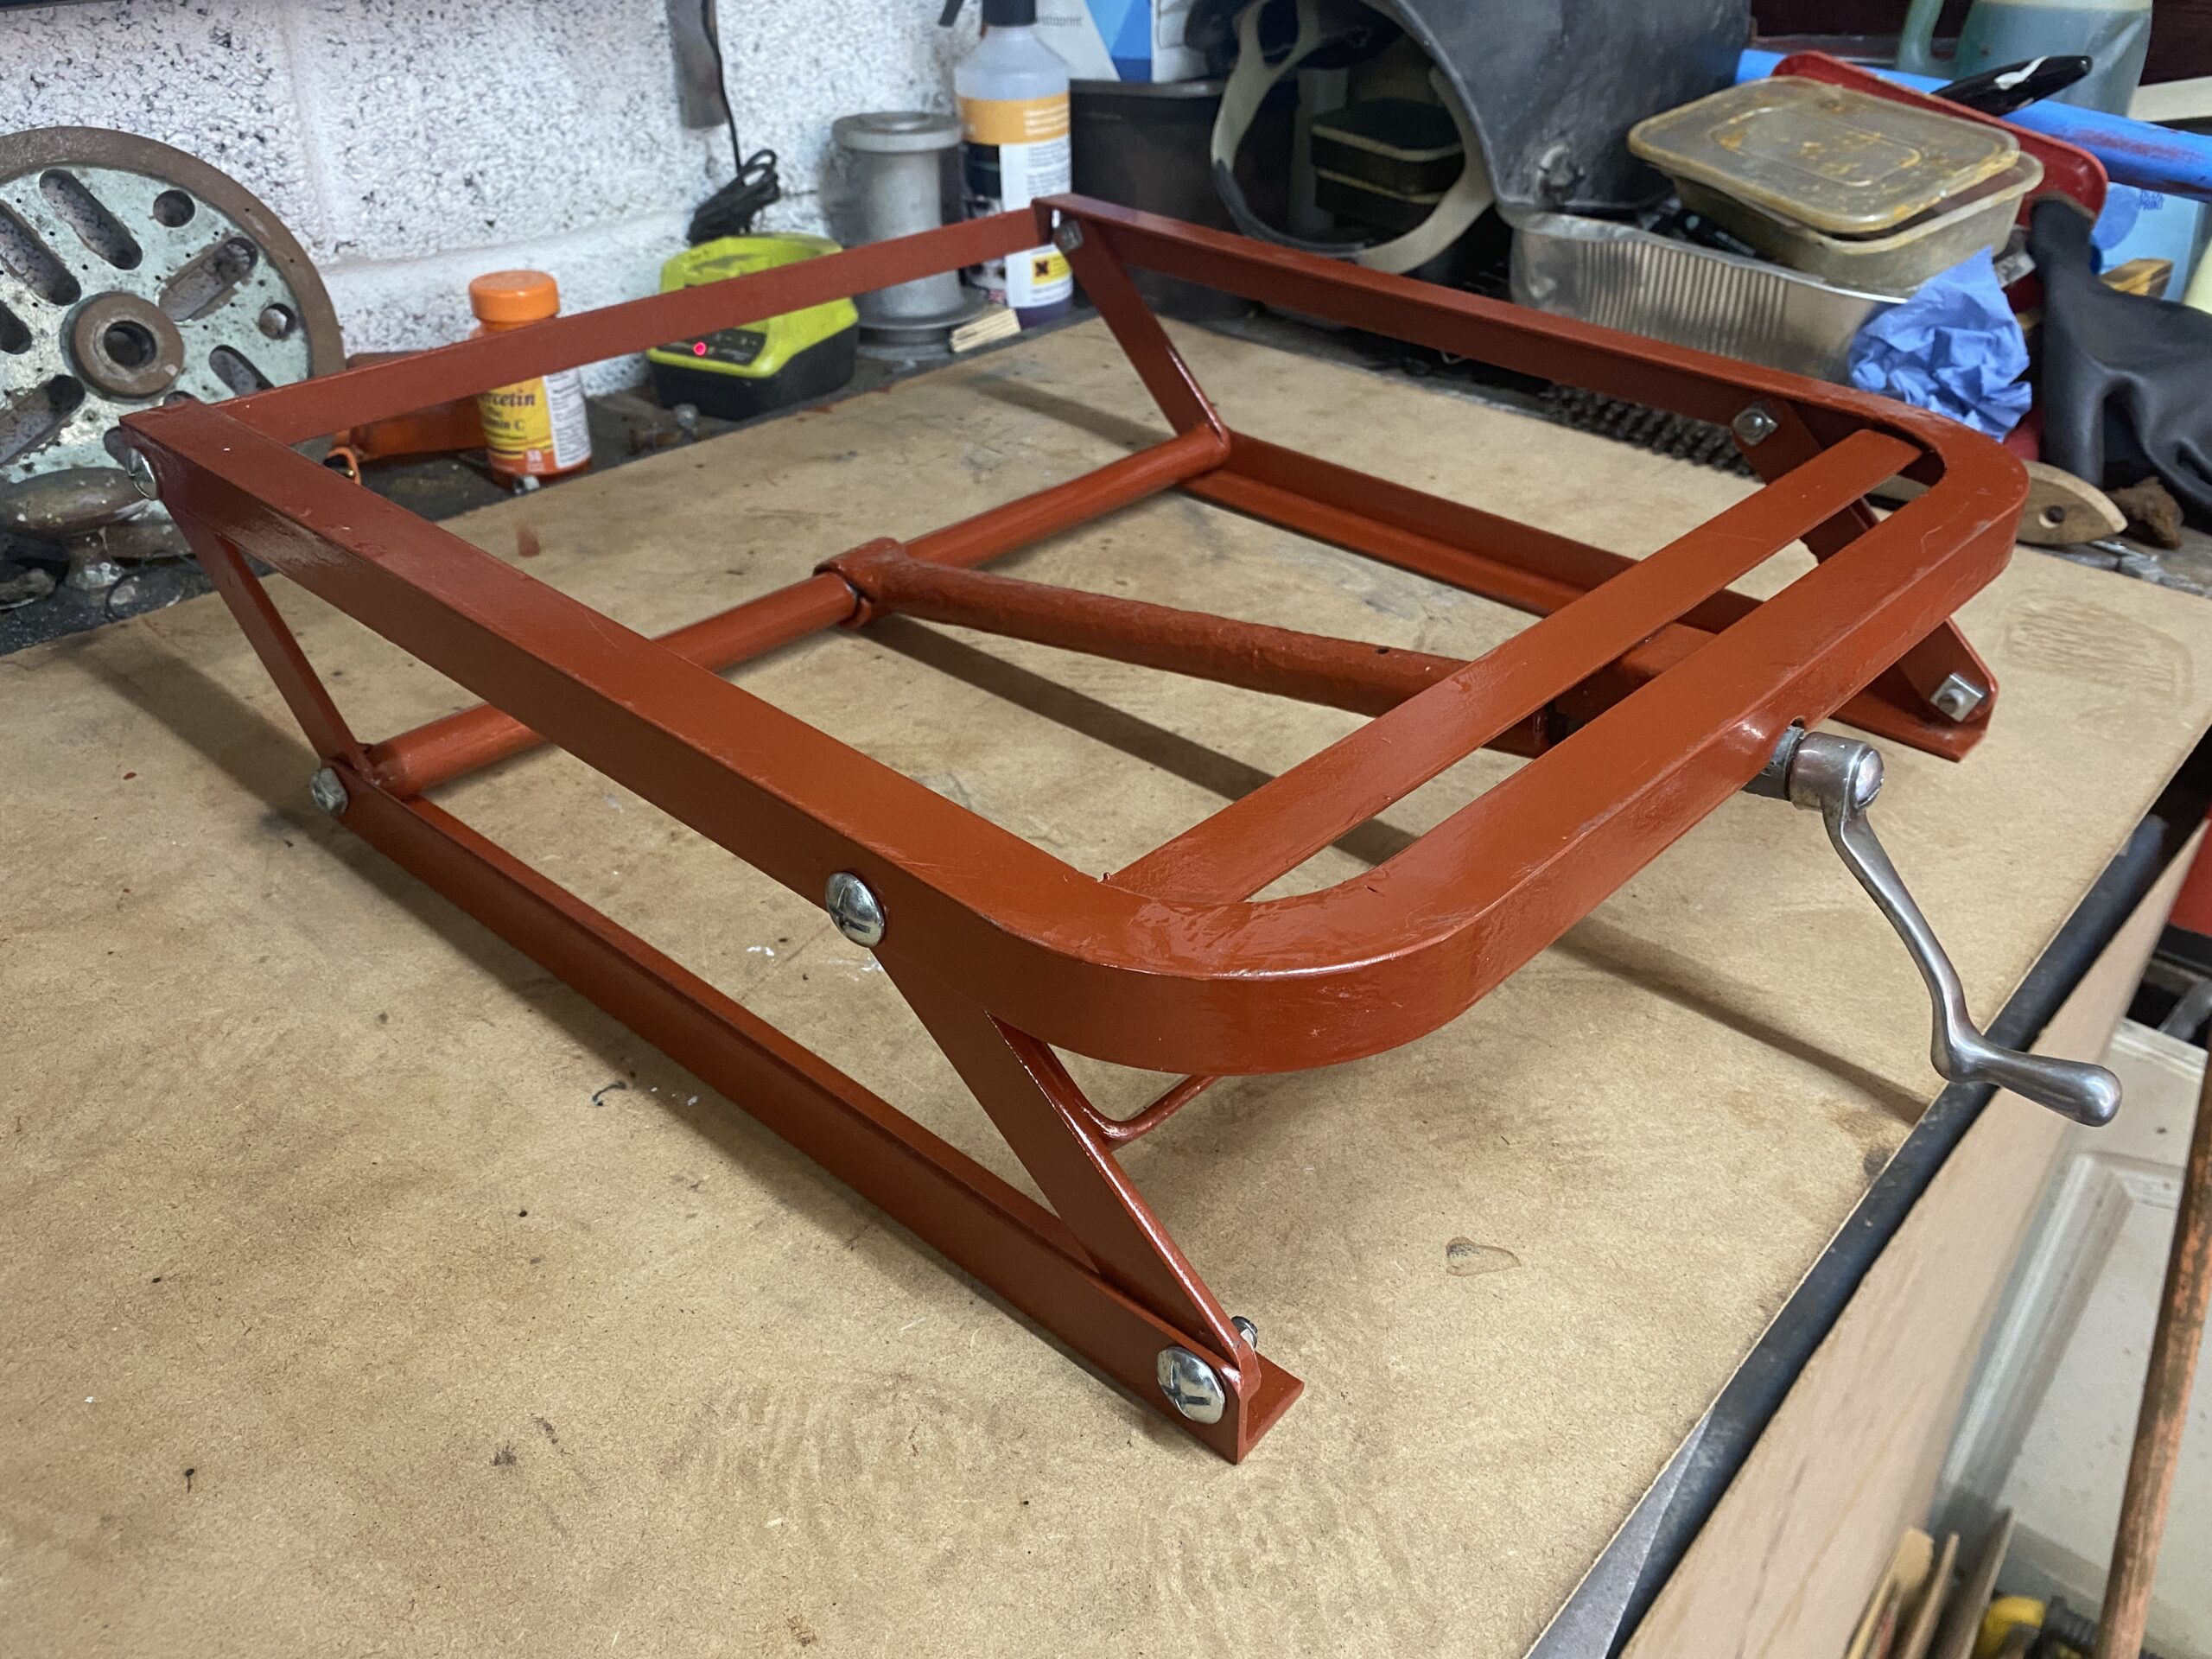
The ripples you can see in the Zinc primered frame are actually an excess of paint, rather than un-smoothed welding. I then carefully measured and drilled the seat top frame so that in the maximum upright position, every short flatbar would be vertical (which looking at the good drivers seat is how it is supposed to be.
Below you can see the various components that needed to be welded together.
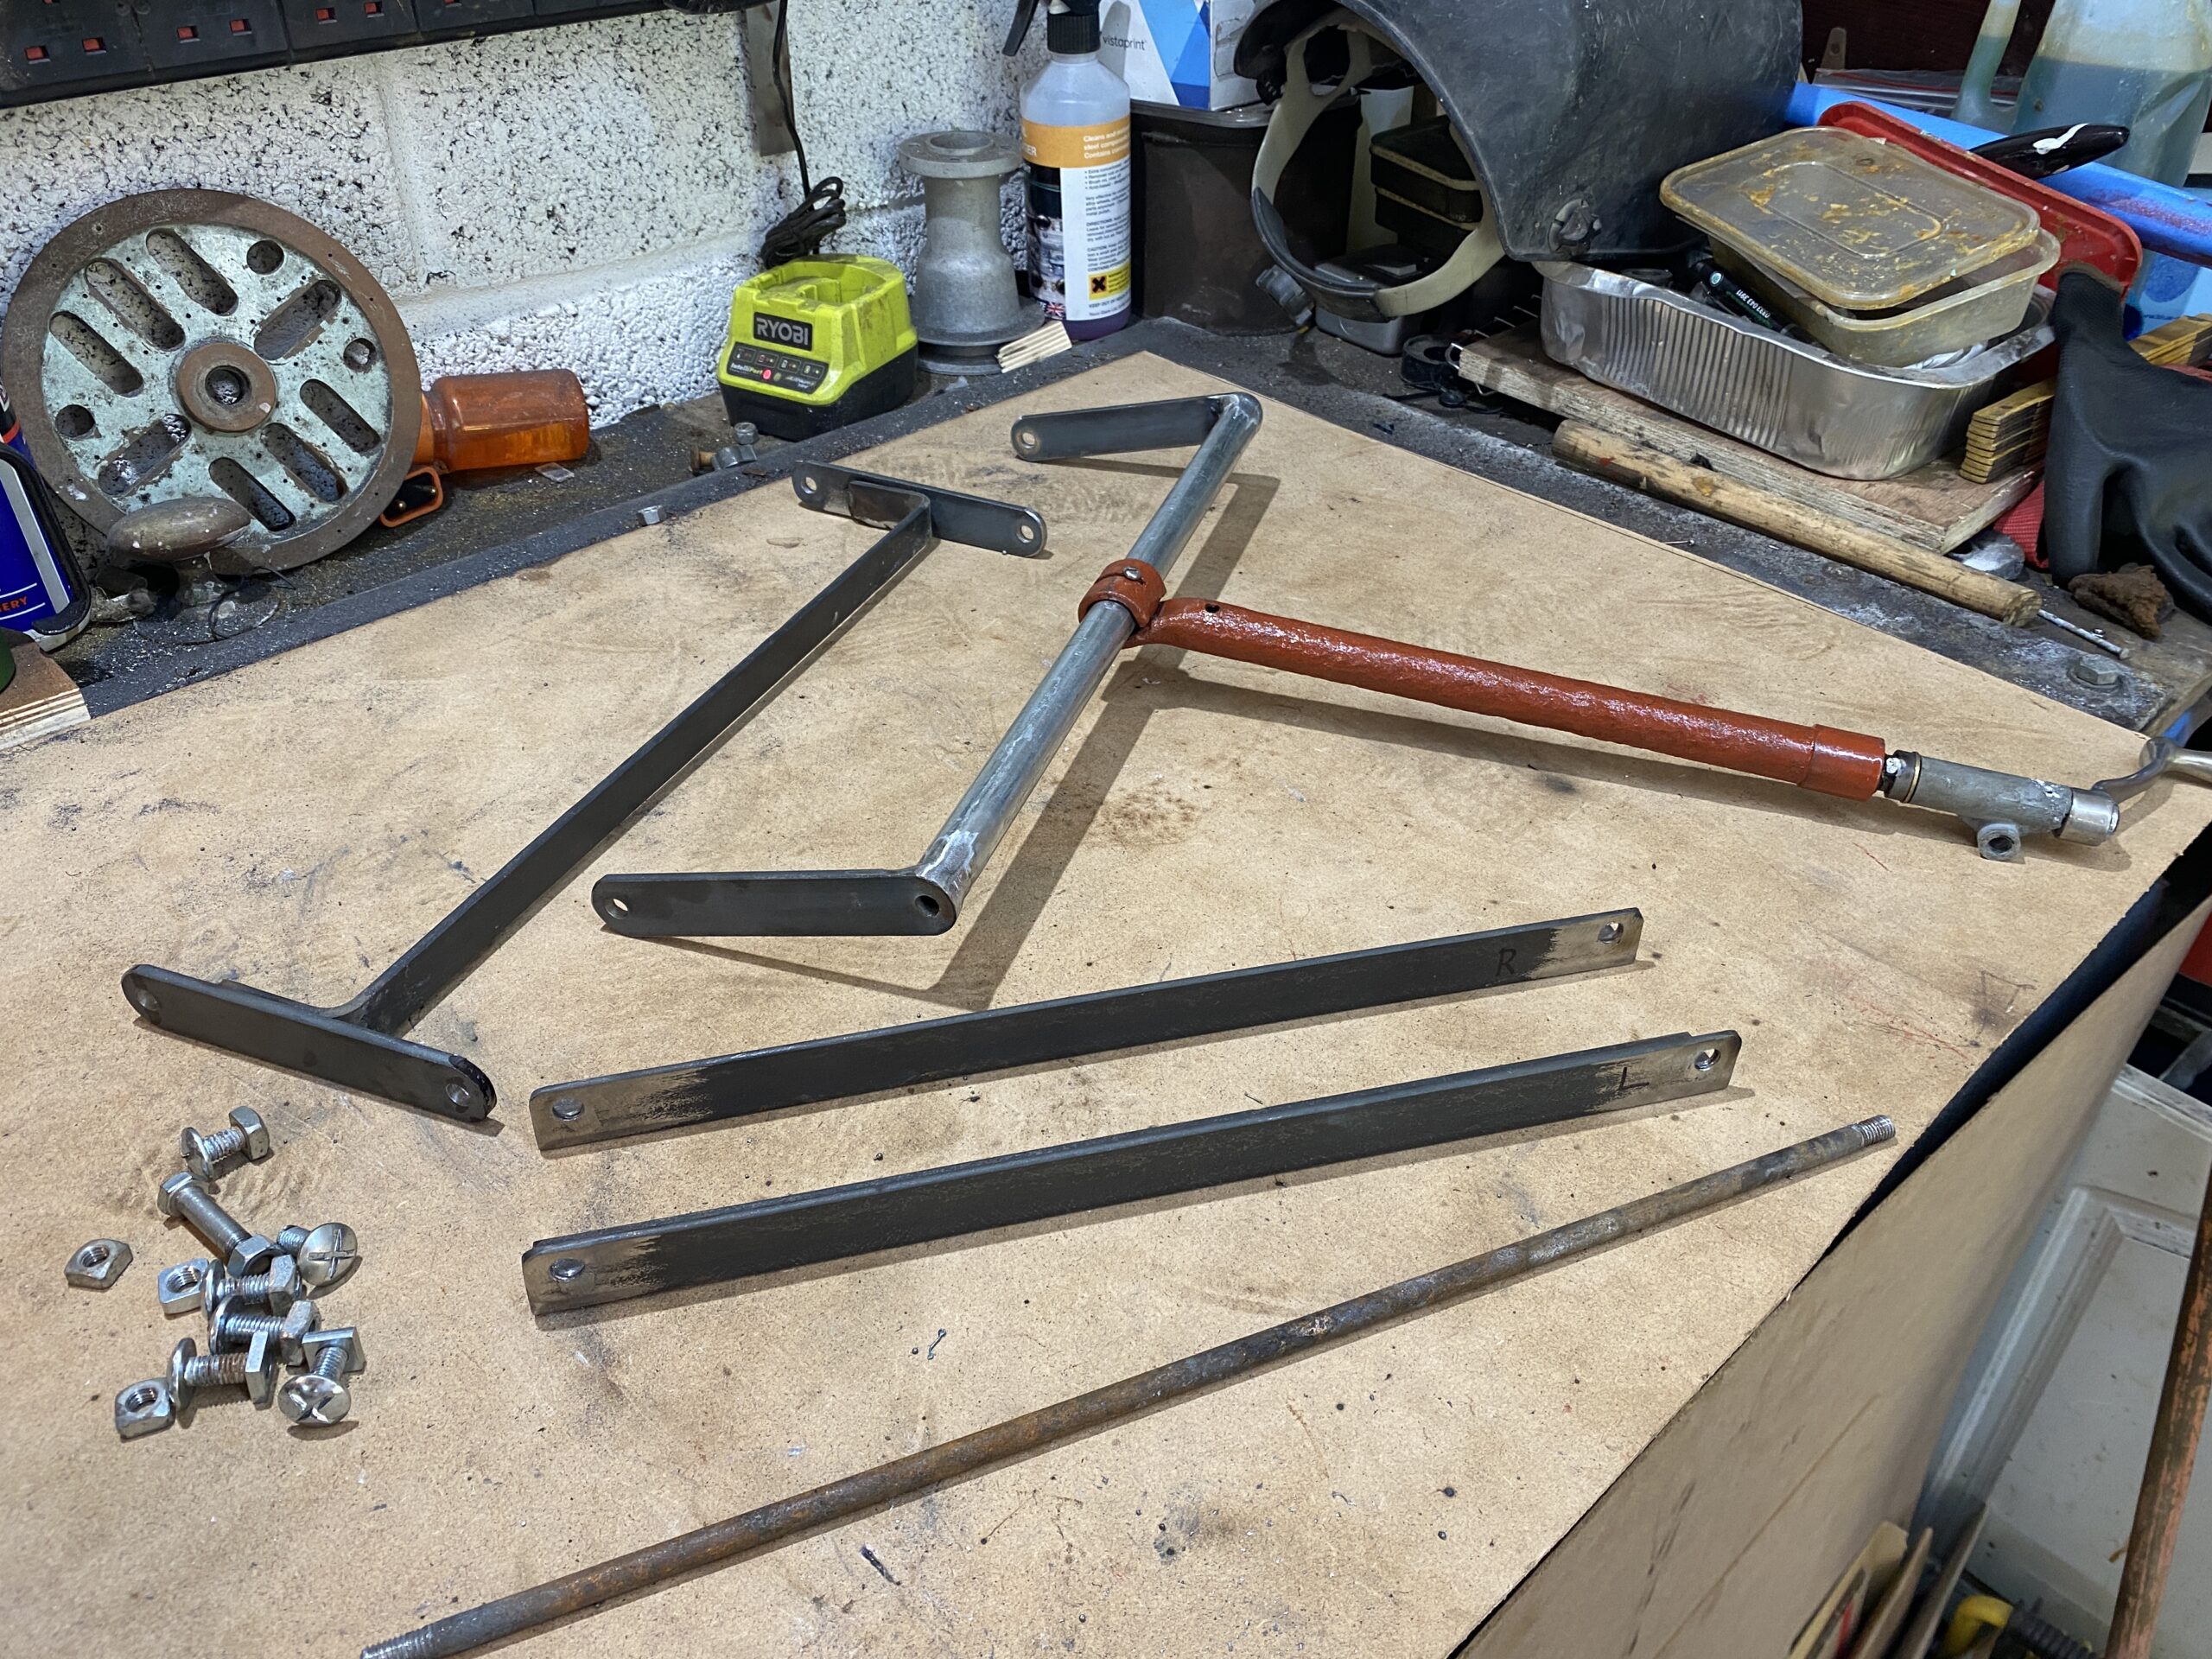
All it took then was to cut some 8mm fixings to a uniform length, cut and thread a new bar for the lower rear of the frame, make a new retaining bar for the handle mount and fit some nuts. Trial fit completed successfully, it now all comes apart for coating with Zinc primer
Next comes the part that I am not yet sure how to best achieve: Bending 22mm pipe into a series of smooth flowing curves like the original frame. I have a few ideas but which one will work. I have some electricians conduit to play with but the final version needs to be thicker walled for strength.