My focus for the last few months was prepping my Vintage competition Riley to be sold which basically closes the 'Riley Blog'. I am pleased to say that the Riley has now indeed sold and it went surprisingly quickly. Whether that was because my pre-sale prep was good or whether I was in the right place at the time, I will never know but essentially I mentioned in the Riley Special Facebook forum that I was putting my car up for sale and 10 minutes later I had someone who was interested. Cutting to the chase: I now have some funds to spend on the Jaguar restoration!
So - onwards...
In theory I can remove the gearbox from the car without removing the engine (and vice versa). I am tempted to do exactly that - remove the gearbox first. This is primarily so that I can learn HOW to do that and then remove the engine afterwards. So I started undoing the bolts connecting the gearbox to the engine. It's a little bit fiddly doing this on my own because most of them spin if you only have a spanner on one end., so I have to find a way of holding the nut without actually touching it when I turn the other end. I pair of Mole-Grips seems to be the answer but whilst I was undoing the bolts on the drivers side - I tweaked my back so I stopped working in the confined place and turned my attention to other restoration work. This post lightly touches on that 'other' restoration work.
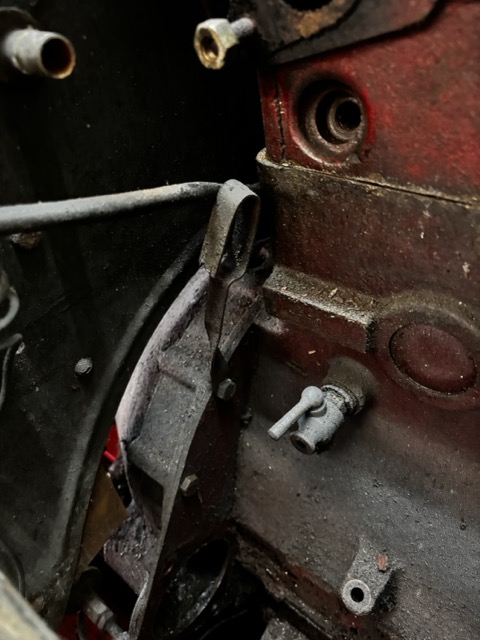
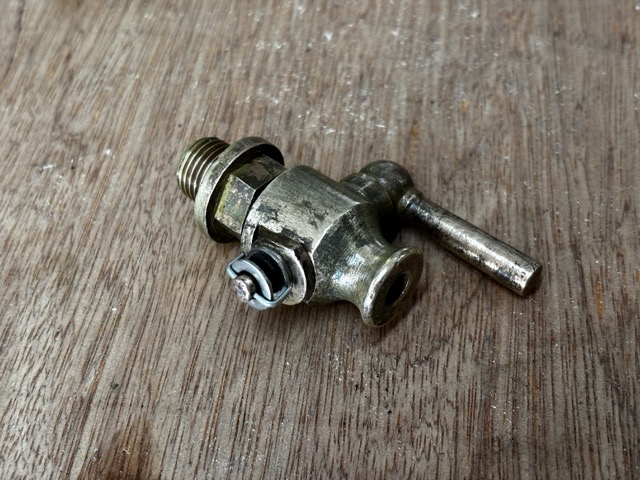
First up: The engine block has a brass water drainage tap. It's rather strangely located above the starter motor so water being evacuated will pour onto the starter motor. Why would anyone do that? Regardless, I could tell that the tap was seized and I knew it would be relatively easy to strip apart and rebuild. The tap was filled with condensed muck which needed removing before trying to wriggle some life back into the brass components. Luckily brass does not rust so but the surfaces do tarnish. After a while I managed to coax the handle to turn having been very careful not to snap the handle off by being overly enthusiastic. Below is the before and after pictures. I may polish the brass at a later date
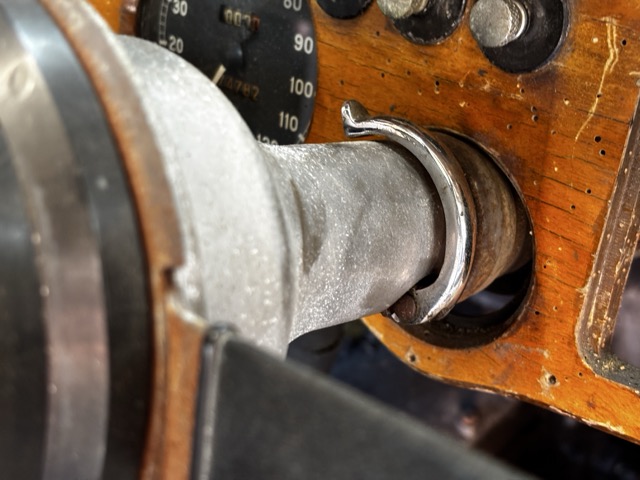
Next, Steve had mentioned that he had never managed to stop the steering wheel, extending if you accidentally pulled on it. That is not something I fancied as being a feature of driving the car and I could see there was a clamp on the steering column that 'should' lock it into the chosen position. He was right - the steering wheel did indeed pull towards the driver rather more easily that it should. Taking the clamp apart - naturally part of it was seized but ithe lever also looked awkward somehow so I rotated it 180 degrees so that when it was in the locked (i.e. tight) position the clamp hugged the steering column rather than pulling towards the locking nut. This is a little hard to describe but strangely in this rotated position the clamp worked just as it should... well that was easy.
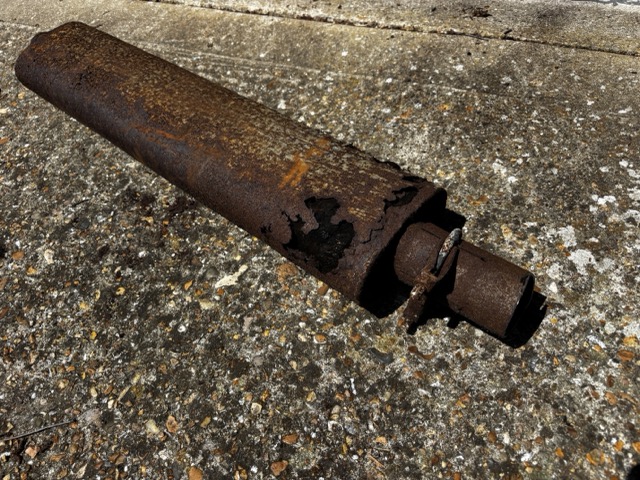
Next - with the ache in my back diminishing - I cut off the remains of the exhaust system which I shall give to the scrap metal chaps = I am sure they will be jolly excited about it. The exhaust is unusable so cutting it up was the quickest way of removal.
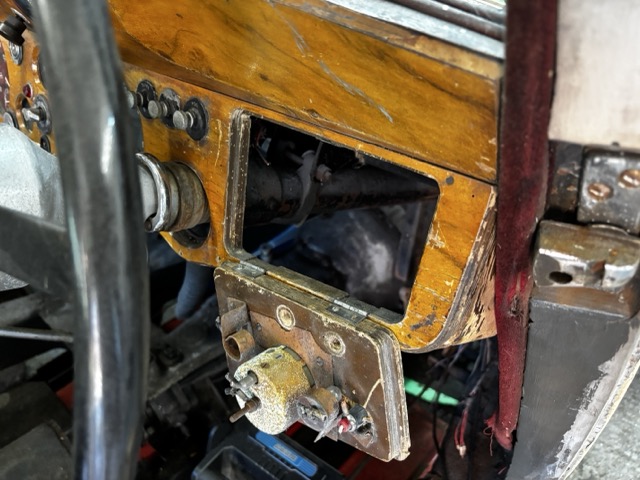
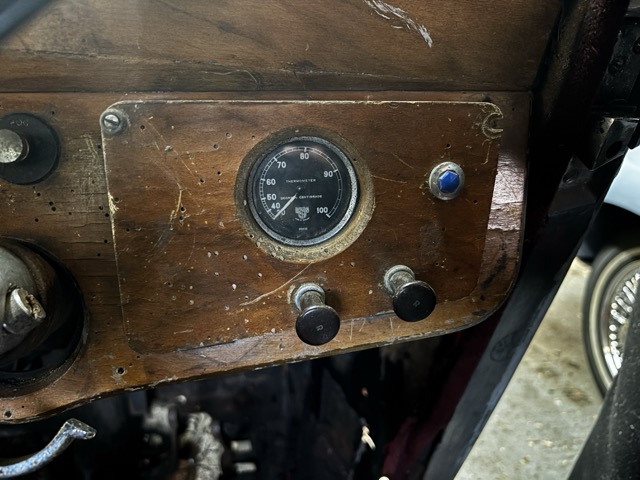
To remove the gearbox - obviously you also need to remove everything connected to it. Essentially this is a couple of wires for the reversing light, the speedometer cable which tells me the speedometer is mechanical (not electrical) and unusually there was a temperature gauge for the gearbox. Steve had mentioned that he rallied the car back in the day so I imagine the gauge was to keep an eye on the oil temperature. But being non-standard, Steve needed to find a location for the gauge and he decided to fit it into the drivers side glove box lid. I do not want or need that gauge so I will be replacing the glove box lid when I restore (read that as 'remake') the wooden dashboard which is or was full of woodworm. So I simply re-fitted the hinges on the glove box lid in order for it to shut.
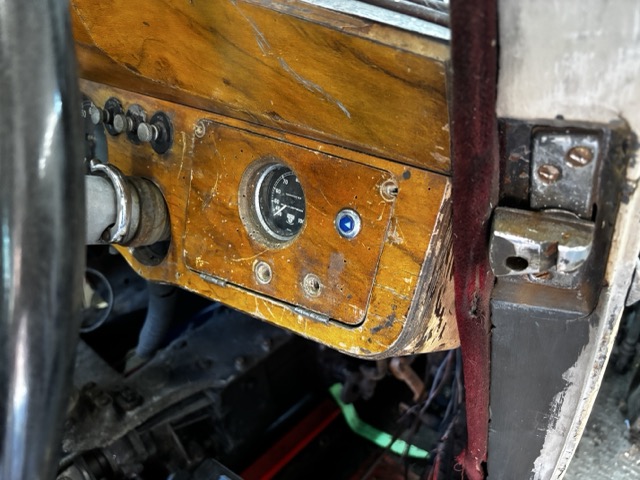
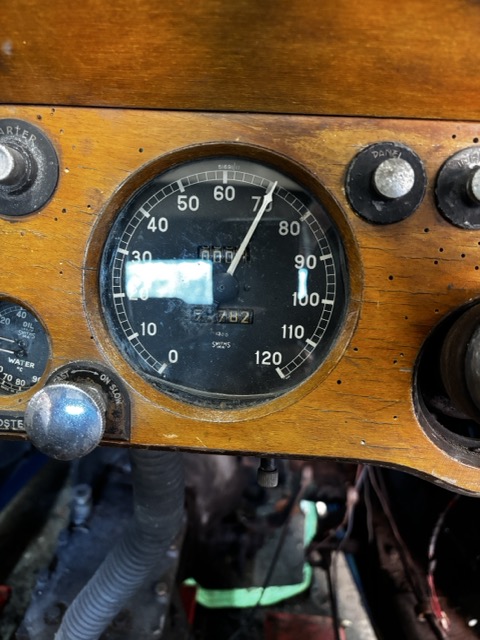
Having removed the speedometer cable - I noticed that the end which fits into the gearbox was no longer connected to the cable, which implies the speedometer stopped working at some point in its life. But with a little bit of artful bodgery - hmm memo to self: 'Artful Bodger" would be a great name for a slightly underhand restoration company... sorry I got distracted - I found if I wrapped the end of the cable and re-inserted it into the cable-end - then I had a working connection. Granted the bodge is very-very temporary but I can at least use it to see if the speedometer worked. Putting an electric drill on the end of the cable would be enough to mimic the cable rotation from the gearbox so that is what I did. Did it work? In short no. It then occurred to me that perhaps the cable ws designed to operate in the opposite direction which is simple to do on a drill - and.... the speedometer needle twitched. switching back and forth on the direction of the drill saw the sticky speedometer come to life. Nice that saves me some money but I will restore the gauge properly later. One day I hope to see this speed for real....